How to Make Sourdough Sandwich Bread: Easy Recipe Guide
The smell of fresh sourdough bread in the kitchen is pure joy. As a home baker, I love making my own sourdough sandwich loaves. They are soft, fluffy, and full of tangy flavor. If you want to try making sourdough, this guide will show you how. It covers everything from starting a sourdough starter to baking the perfect loaf.
Table of Contents
Sourdough sandwich bread shows the magic of fermentation. It uses a sourdough starter instead of yeast. This makes the bread rise and adds complex flavors. The long fermentation time makes the bread easier to digest and gives it a tangy taste. This recipe is for both sourdough experts and beginners who want to make artisanal sourdough at home.
Understanding Sourdough Sandwich Bread Basics
If you love bread, you’ve probably heard about sourdough. It’s not just a new trend; it has a rich history. Unlike regular bread, sourdough uses a natural starter culture of wild yeast and bacteria.
What Makes Sourdough Different from Regular Bread?
The fermentation process makes sourdough special. Wild yeast and bacteria break down gluten, making the bread easier to digest. This process also gives sourdough its tangy taste and crusty texture.
Benefits of Making Your Own Sandwich Bread
Making sourdough at home lets you choose the ingredients. You can avoid preservatives and additives found in store-bought bread. Plus, homemade sourdough is better for those with gluten sensitivities.
The Science Behind Fermentation
The fermentation process is really interesting. Wild yeast and bacteria in the starter eat sugars, producing carbon dioxide. This makes the dough rise and gives sourdough its tender crumb and crusty texture.
Essential Ingredients for Perfect Sourdough Sandwich Bread
Making the perfect sourdough sandwich bread needs the right mix of ingredients. At its core is the active sourdough starter, which gives the bread its tangy taste and light texture. Mixing the starter with unbleached all-purpose flour and whole wheat flour makes the bread fluffy and adds nutrition.
Warm water and whole milk (or full-fat coconut milk for a dairy-free choice) are key for the right moisture. A bit of sugar or honey adds sweetness, while melted butter makes the bread tender. Salt brings out the flavors, making this bakery favorite hard to resist.
Getting the exact amounts of these sourdough sandwich bread recipe ingredients is important for great results. By balancing these components well, you can make a homebaked goodness that’s as good as the best bakery favorites.
| Ingredient | Percentage |
|---|---|
| Levain | 14% |
| King Arthur Unbleached Bread Flour | 22% |
| Water | 8% |
| Sourdough Starter | 3% |
| King Arthur Baker’s Special Dry Milk | 7% |
| Granulated Sugar | 4% |
| Table Salt | 2% |
| Instant Yeast | 3% |
| Unsalted Butter | 4% |
| Warm Water | 10% |
The success of your sourdough sandwich bread depends on choosing and measuring these ingredients carefully. With these basics, you’re ready to make a homebaked goodness that will please your taste buds and impress everyone.
Required Tools and Equipment
Making the perfect sourdough sandwich loaf needs some key tools. First, a good stand mixer with a dough hook is crucial. This tool makes kneading easy, helping your dough get the right texture for a light crumb.
Must-Have Baking Tools
- Stand mixer with dough hook (such as KitchenAid or Bosch)
- 9″ x 5″ loaf pan (the USA 1lb Bread Pans are highly recommended)
- Bread knife (Mercer or Barlow & Co’s Bow Bread Knife work great)
- Kitchen scale for precise ingredient measurements
Optional but Helpful Equipment
Some extra tools can make baking sourdough sandwich bread easier. A warming mat helps keep the dough at the right temperature during fermentation.
- Warming mat for maintaining dough temperature
- Brød and Taylor Bread Proofer for controlled proofing
- Baking scale for precise ingredient measurements
Choosing the Right Loaf Pan
The right loaf pan is key for baking sourdough in loaf pan. A 9″ x 5″ pan is best for even baking and a tall, sliceable loaf. USA 1lb Bread Pans are great because they make loaf removal easy and ensure consistent baking.
Preparing Your Active Sourdough Starter
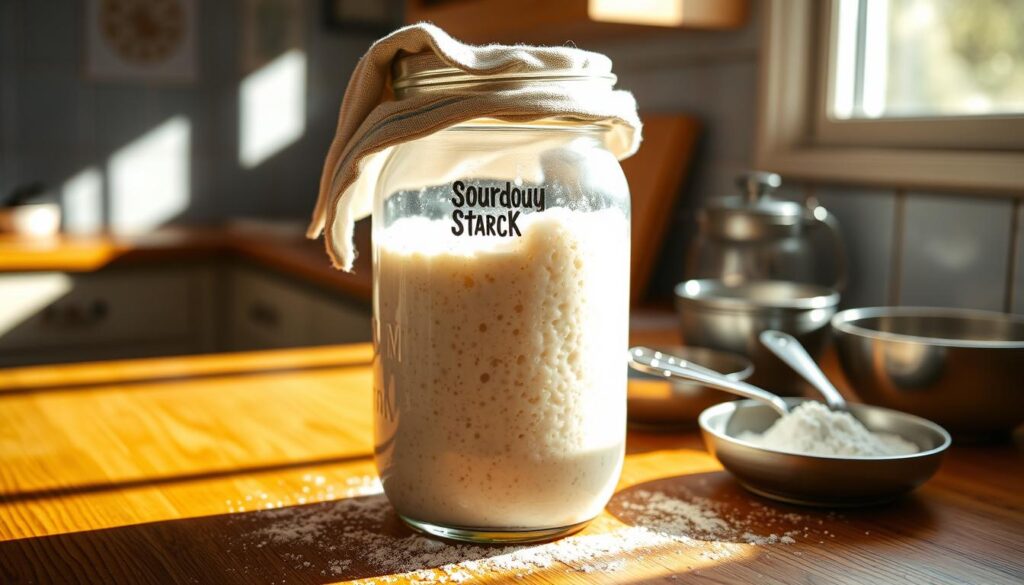
For the perfect sourdough sandwich bread, your active sourdough starter is crucial. It’s a mix of flour and water that replaces commercial yeast. This gives your bread its rise and unique taste. Here’s how to get your starter ready:
- Feed your sourdough starter 12 hours before mixing the dough. Use a 1:4:4 ratio of starter:flour:water for a slow overnight rise.
- For a faster activation, opt for a 1:1:1 ratio instead.
- A kitchen scale is essential for accurately measuring the ingredients – don’t rely on estimations.
- Wait until your starter is at its peak, bubbly and doubled in size, before incorporating it into the soft sourdough sandwich bread dough.
By properly preparing your active sourdough starter, you’ll get a sourdough loaf pan that’s tall, light, and full of flavor. Don’t skip this step. It’s the base for baking delicious homemade sourdough sandwich bread.

“A bubbly and lively sourdough starter is key to a good rise in the bread.”
Mixing and Kneading the Dough
Starting your artisanal baking journey means mixing and kneading the fermented dough right. This step is key for getting that tangy flavor and chewy texture. It’s what makes sourdough sandwich bread special compared to store-bought bread.
Initial Mixing Technique
Start by mixing your active sourdough starter, water, milk, brown sugar, flour, kosher salt, and butter. Use a stand mixer or a big bowl. Mix on low speed or by hand until it forms a shaggy dough. This should take about 2-3 minutes.
Proper Kneading Methods
- After the dough comes together, turn up the mixer speed to medium. Knead for 10-15 minutes. If you’re kneading by hand, push the dough away from you and then fold it back.
- The dough should get smooth, elastic, and pass the “windowpane test.”
The Windowpane Test
To do the windowpane test, stretch a small dough piece between your fingers. If it’s thin and translucent without tearing, it’s ready. If it tears, knead for 2-3 more minutes and test again. Keep kneading for 20 minutes, even if it doesn’t pass the test right away.
Getting the mixing and kneading right is crucial for a great artisanal baking experience. It ensures your fermented dough and tangy flavor sourdough sandwich bread turns out perfectly.
First Fermentation and Bulk Rise
After mixing and kneading your sourdough sandwich bread dough, it’s time for the first fermentation and bulk rise. This step is crucial. It helps the dough develop its crusty texture and wholesome ingredients. These elements make your homemade bread lore special.
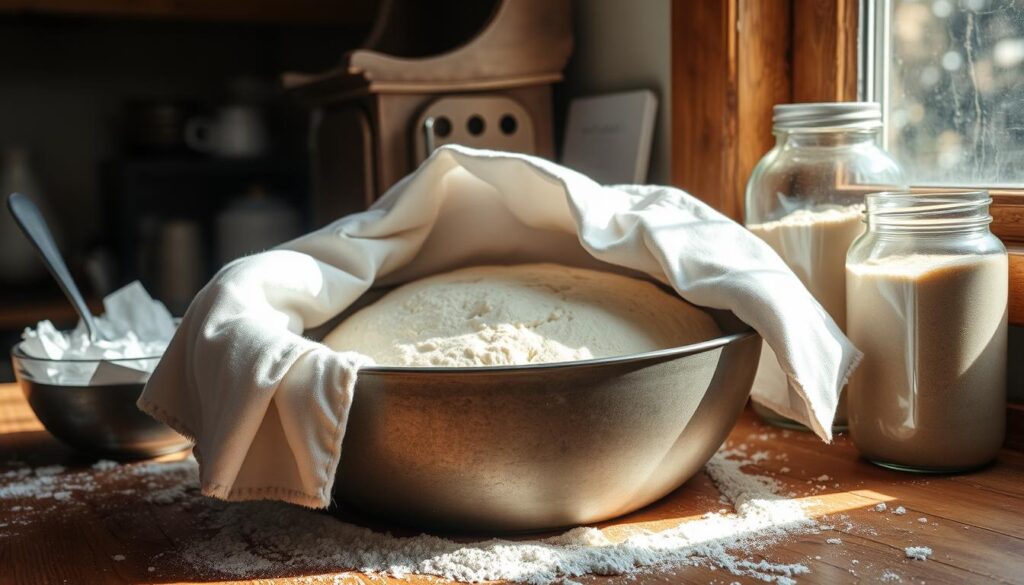
Begin by shaping the dough into a tight ball. Place it in a large, lightly oiled bowl. Cover it with a dinner plate, reusable cover, or sheet of foil. Let it rise in a warm area for 8 to 12 hours, or until it doubles in size.
If your kitchen is cooler, adjust the fermentation time and temperature. Use more sourdough starter, up to 150 grams. Or, place the dough on a proofing mat set to 77°F (25°C) and let it rise overnight. You can also proof it at 100°F (38°C) for a shorter time.
During the bulk rise, the dough’s beneficial bacteria and wild yeasts work hard. They transform the dough and develop its complex flavors. Watch the dough closely. Once it doubles in size, it’s ready for the next step in your sourdough sandwich bread journey.

| Ingredient | Amount |
|---|---|
| Bread Flour | 460g (3 ¾ C) |
| Water | 260g (1 ⅛ C) |
| Sourdough Starter | 100g (about ½ C) |
| Oil | 37g (3 tbsp) |
| Maple Syrup or Honey | 21g (1 Tbsp) |
| Salt | 9g (1 ½ tsp) |
Shaping Your Sourdough Sandwich Bread
Making the perfect sourdough sandwich bread is all about shaping. After the dough has doubled in size, it’s time to punch it down and shape it. This step is key for a well-structured, beautifully risen loaf. It’s perfect for homebaked goodness.
Step-by-Step Shaping Guide
Shaping your sourdough sandwich bread is easy. Just follow these steps:
- Lightly flour your work surface to prevent the dough from sticking.
- Gently punch down the dough to release any air pockets.
- Using your hands, pull the dough into a rectangle, roughly the size of your loaf pan.
- Fold one long side of the dough towards the center, then fold the other long side on top, creating a log.
- Pinch the seam to seal the dough, then gently roll the log back and forth to create tension on the surface.
- Carefully transfer the shaped dough into a greased loaf pan, seam-side down.
Creating Proper Tension
Getting the right tension in the dough is key for a great bakery favorites loaf. The folding and rolling help make a taut, smooth surface. This surface will hold its shape during the final rise and baking.
Remember, the secret to successful shaping is gentle but firm handling. This creates the tension needed for a beautiful, traditional methods-inspired loaf of sourdough sandwich bread.
Second Rise and Proofing
After shaping your sourdough sandwich bread and putting it in a greased 9″ x 5″ loaf pan, it’s time for the second rise. Cover the dough and let it rise until it fills the pan and rises above the rim. This usually takes 1-3 hours.
This second rise is key for a soft, fluffy texture in your sourdough sandwich bread. If it doesn’t rise enough, the loaf might be dense or doughy in the middle.
To help the dough rise well, make a warm, draft-free spot for it. You can do this by preheating your oven to the lowest setting, then turning it off. Place the covered loaf pan inside. The oven’s warmth will aid the dough’s rise.
The time for the second rise can change based on temperature and your sourdough starter‘s strength. Watch the dough closely and adjust the proofing time if needed.
When the dough has risen enough, it’s time to bake. Preheat your oven and get ready for the amazing smell of freshly baked sourdough sandwich bread.
Baking Techniques for Perfect Results
To get a perfectly baked sourdough sandwich loaf, focus on temperature and timing. Preheat your oven to 375°F (190°C). Then, bake the loaves for 45-50 minutes. They should reach an internal temperature of 190°F (88°C) and have a golden brown crust.
For a softer crust, brush the loaves with melted butter right after baking.
Temperature and Timing
If the top of the loaf browns too fast, cover it with aluminum foil for the last 15 minutes. This stops the crust from getting too dark. It lets the inside bake perfectly.
After baking, let the loaves cool in the pan for 10-15 minutes. Then, move them to a wire rack to cool completely.
Steam and Crust Development
To get a crisp, golden crust, use the right baking methods. Add a small pan of hot water to the oven for the first 15 minutes. This steam helps the crust become shiny and beautiful.
It also makes the bread rise higher. This results in a soft, chewy inside and a crisp outside.

